

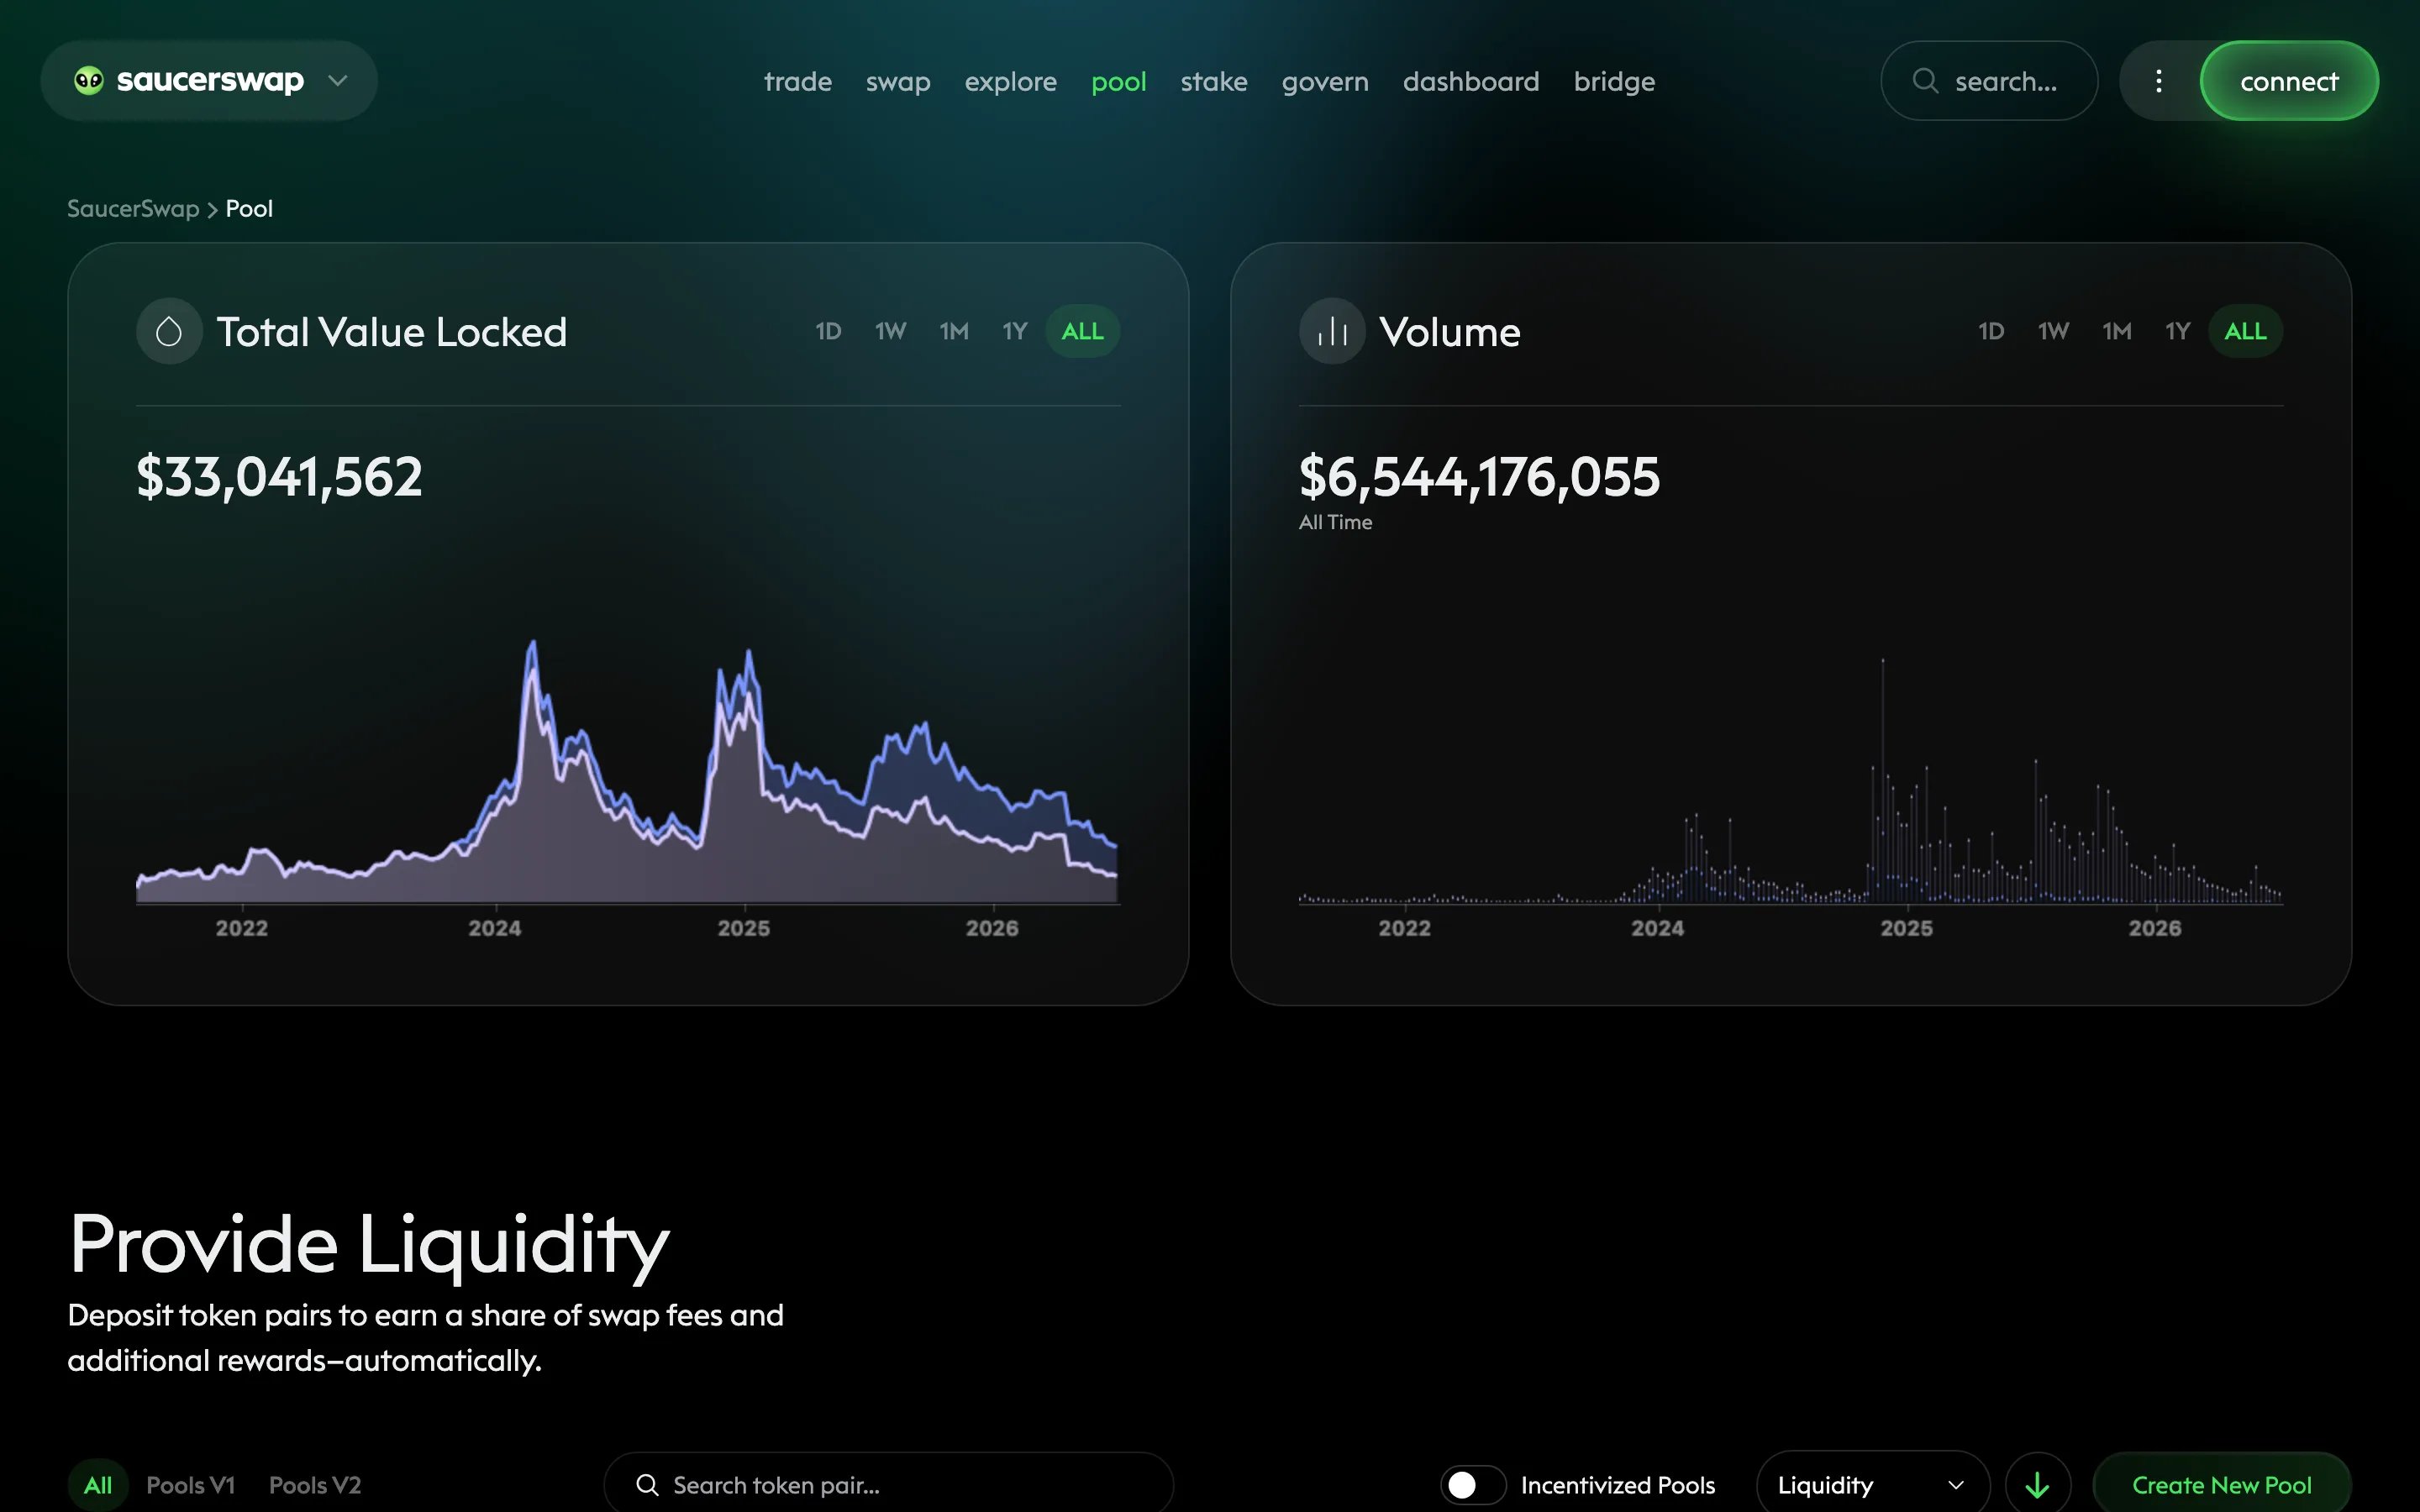
The pool page of the SaucerSwap web app.
Prerequisites
- A connected Hedera wallet
- HBAR to cover network fees
- Tokens for the pair you want to provide
Create a manual position
1
Locate the pool
Go to the pool page and find the V2 pool for your pair. Pools differ by fee tier (0.05%, 0.15%, 0.30%, or 1.00%) — higher tiers compensate for more volatile pairs.
2
Start a new position
Open the pool and choose to create a new position.
3
Set the price range
This is the decision that drives your returns. You have three ways to set it:
- Volatility strategy — pre-configured ranges such as Focused, Balanced, and Relaxed. Focused earns more per dollar while in range but falls out of range sooner; Relaxed is the reverse.
- Manual input — set exact upper and lower price limits.
- Depth chart handles — drag range handles directly on the liquidity chart.
4
Deposit tokens
Enter the amount of either token; the interface computes the other side from your chosen range. A range entirely above or below the current price deposits a single token — this emulates a fee-earning limit order that converts one token to the other as price crosses your range.
5
Review and mint
Check the amounts, range, and slippage tolerance, then confirm and complete the transaction in your wallet. Your position is minted as an NFT-style position you manage individually.
Manage a position
Your positions are accessible from the dashboard page under V2 Pools, or directly from the pool page.- Increase liquidity — open the position, choose to increase, enter the additional amounts, and confirm in your wallet.
- Decrease liquidity — choose to decrease, use the slider to pick how much to withdraw, and confirm. Fees earned so far are unaffected until claimed.
- Claim fees — open the claim view to see accrued amounts of both tokens, then collect and complete the transaction. V2 fees do not compound automatically; claim them periodically.
Auto pools
Auto pools manage the price range for you: you deposit a single token into a vault, and the vault maintains and rebalances a range position. Pools with a vault carry an AUTO marker on the pool page.1
Deposit
Open an AUTO-marked pool, choose the auto option when creating a position, select the vault, enter your single-token deposit amount, and confirm in your wallet.
2
Monitor
The position view shows your deposited liquidity plus vault-level stats such as TVL and earned fees. Vault positions appear on the dashboard page under V2 Vaults.
3
Withdraw
From the withdraw view, choose the amount with the slider or preset buttons, then confirm the transaction in your wallet.
Common mistakes
- Ignoring impermanent loss. Concentration amplifies it: a tight range converts your capital into the depreciating token faster than a full-range position would. See What is impermanent loss?
- Choosing the wrong fee tier. A stable pair in a 1.00% pool sees little volume; a volatile pair in a 0.05% pool undercompensates your risk. Match the tier the market actually uses — pool volume on the pool page tells you.
- Forgetting to claim fees. V2 fees sit unclaimed until you collect them; they are not auto-compounded into the position.
Next steps
V2 protocol concepts
Concentrated liquidity math, fee tiers, and the LARI program in depth.
Track your positions
Monitor positions, unclaimed fees, and LARI earnings on the dashboard.
Provide liquidity on V1
The legacy constant-product pools and yield farm.