> ## Documentation Index
> Fetch the complete documentation index at: https://docs.saucerswap.finance/llms.txt
> Use this file to discover all available pages before exploring further.
# Swap tokens
> Swap any listed HTS token on SaucerSwap: pick tokens, set slippage tolerance, review the quote and fees, approve an allowance, and confirm in your wallet.
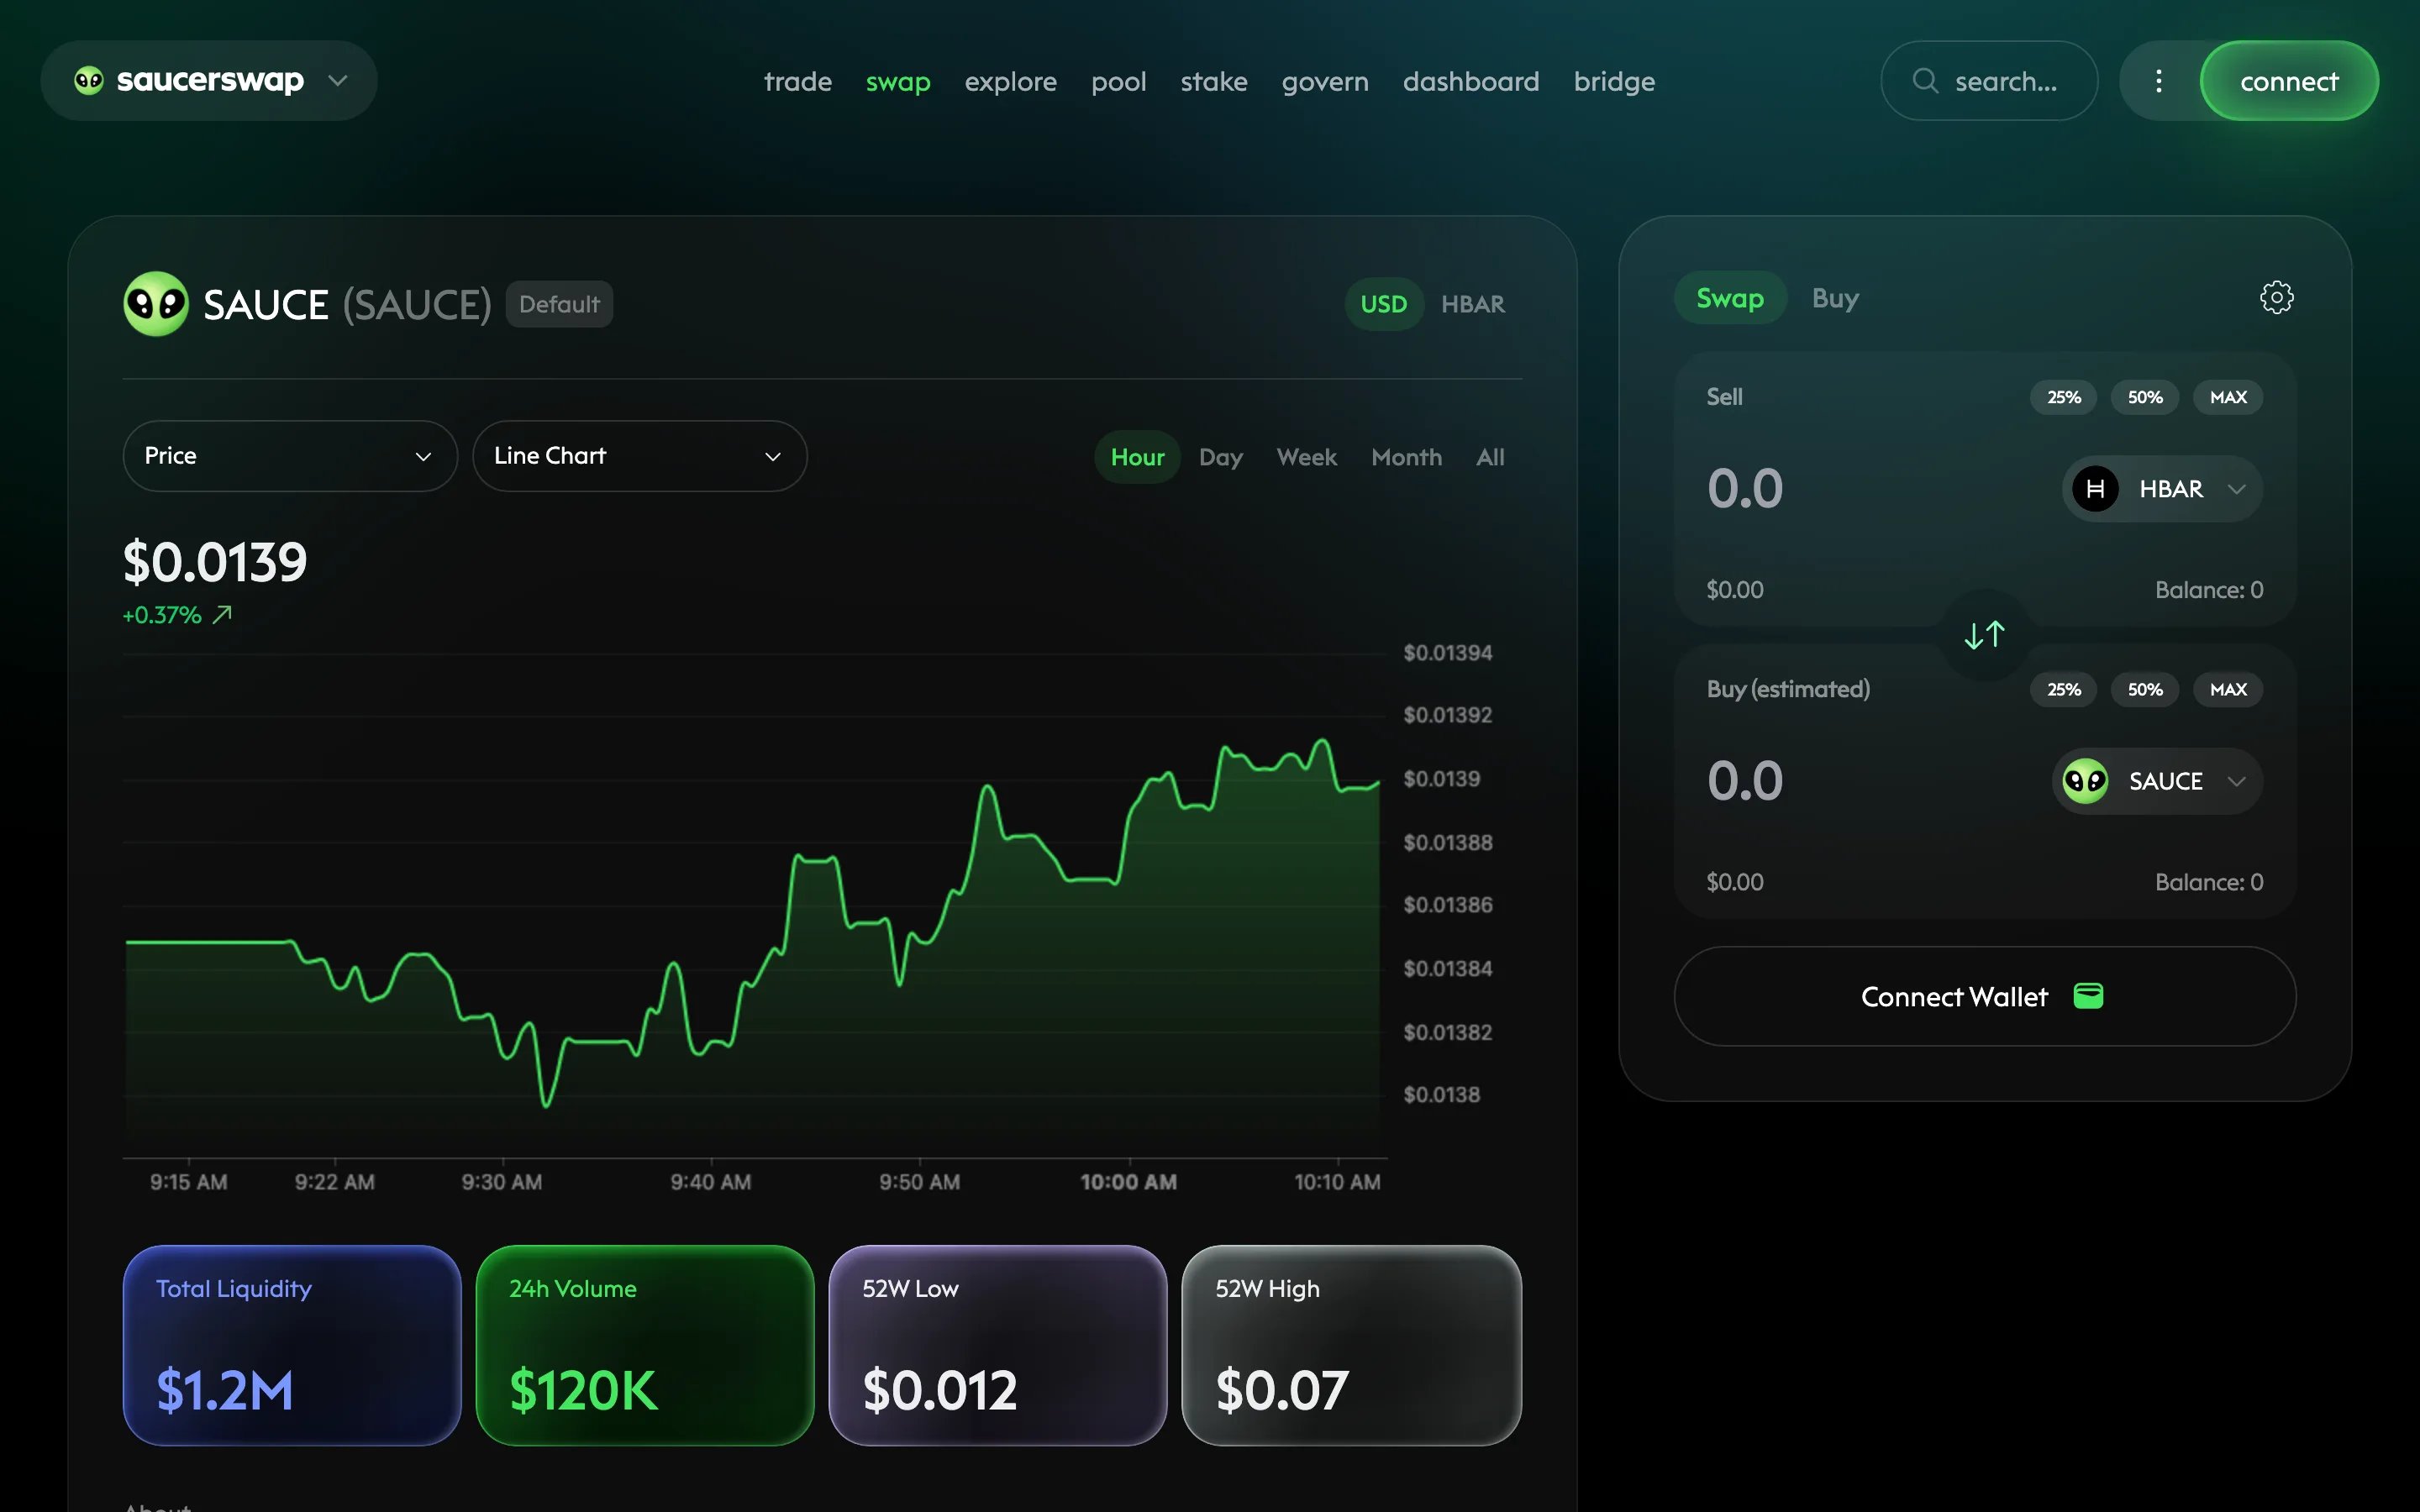
The **swap** page executes trades instantly against SaucerSwap's V1 and V2 AMM liquidity, automatically routing your trade for the best quoted price. If you want to set your own price instead, use the [order book](/tutorials/trade).
 ## Prerequisites
* A connected [Hedera wallet](/get-started/wallet)
* [HBAR](/get-started/hbar) to cover network fees
* Tokens to swap (HBAR itself works)
## Swap step by step
Open the [web app](https://www.saucerswap.finance/), go to the **swap** page, and select **Connect Wallet**. Approve the connection in your wallet.
Select the token in the **Sell** field to open the token menu, and pick what you are selling. Do the same in the **Buy** field for the token you want to receive.
Tokens come in three classes: default tokens appear in the menu directly, extended tokens require acknowledging a disclaimer, and untracked tokens must be entered manually by token ID (for example `0.0.123456`) and also require a disclaimer. See [How does the token listing process work?](/get-started/faq#how-does-the-token-listing-process-work)
Type the amount you want to sell, or use the percentage shortcuts (**25%**, **50%**, **MAX**). The **Buy (estimated)** field shows what you can expect to receive. You can instead enter the amount in the buy field to work backward from an exact amount to receive — the sell side then becomes the estimate.
Slippage tolerance is the maximum difference you accept between the quoted and executed price; the swap fails rather than exceed it. The default is 0.5%. A lower value protects your price but can cause failed transactions in volatile or thin markets; a higher value does the reverse. Adjust it in the swap settings. See [What is slippage?](/get-started/faq#what-is-slippage)
Before confirming, check the quote details:
| Detail | Meaning |
| ---------------- | -------------------------------------------------------------------------------------------- |
| Minimum received | The least you can receive after slippage (selling an exact amount) |
| Maximum sold | The most you can sell after slippage (buying an exact amount) |
| Price impact | How much your trade moves the pool price; high impact means low liquidity |
| Fee | The pool swap fee, 0.05% to 1.00% depending on the pool; multi-hop routes pay a fee per pool |
Of each swap fee, 5/6 goes to liquidity providers and 1/6 to the protocol. Network fees are separate and paid in HBAR.
Choose between a one-time [token allowance](/get-started/faq#what-is-a-token-allowance) for this exact amount or a maximum allowance that skips approval on future swaps. Confirm the swap and sign the transaction in your wallet. If the receiving token is not yet associated with your account, the interface prompts you to associate it first.
The interface confirms the completed swap, and your updated balances appear on the **dashboard** page. For an independent record, look up the transaction on [HashScan](https://hashscan.io/mainnet/dashboard).
If the swap fails with a contract revert, your slippage tolerance is usually too low for current market conditions. See [Troubleshooting](/resources/troubleshooting).
## Next steps
Set your own price with limit orders on the V3 order book.
Earn the fees you just paid by supplying liquidity to V2 pools.
See balances, positions, and rewards on the dashboard.
## Prerequisites
* A connected [Hedera wallet](/get-started/wallet)
* [HBAR](/get-started/hbar) to cover network fees
* Tokens to swap (HBAR itself works)
## Swap step by step
Open the [web app](https://www.saucerswap.finance/), go to the **swap** page, and select **Connect Wallet**. Approve the connection in your wallet.
Select the token in the **Sell** field to open the token menu, and pick what you are selling. Do the same in the **Buy** field for the token you want to receive.
Tokens come in three classes: default tokens appear in the menu directly, extended tokens require acknowledging a disclaimer, and untracked tokens must be entered manually by token ID (for example `0.0.123456`) and also require a disclaimer. See [How does the token listing process work?](/get-started/faq#how-does-the-token-listing-process-work)
Type the amount you want to sell, or use the percentage shortcuts (**25%**, **50%**, **MAX**). The **Buy (estimated)** field shows what you can expect to receive. You can instead enter the amount in the buy field to work backward from an exact amount to receive — the sell side then becomes the estimate.
Slippage tolerance is the maximum difference you accept between the quoted and executed price; the swap fails rather than exceed it. The default is 0.5%. A lower value protects your price but can cause failed transactions in volatile or thin markets; a higher value does the reverse. Adjust it in the swap settings. See [What is slippage?](/get-started/faq#what-is-slippage)
Before confirming, check the quote details:
| Detail | Meaning |
| ---------------- | -------------------------------------------------------------------------------------------- |
| Minimum received | The least you can receive after slippage (selling an exact amount) |
| Maximum sold | The most you can sell after slippage (buying an exact amount) |
| Price impact | How much your trade moves the pool price; high impact means low liquidity |
| Fee | The pool swap fee, 0.05% to 1.00% depending on the pool; multi-hop routes pay a fee per pool |
Of each swap fee, 5/6 goes to liquidity providers and 1/6 to the protocol. Network fees are separate and paid in HBAR.
Choose between a one-time [token allowance](/get-started/faq#what-is-a-token-allowance) for this exact amount or a maximum allowance that skips approval on future swaps. Confirm the swap and sign the transaction in your wallet. If the receiving token is not yet associated with your account, the interface prompts you to associate it first.
The interface confirms the completed swap, and your updated balances appear on the **dashboard** page. For an independent record, look up the transaction on [HashScan](https://hashscan.io/mainnet/dashboard).
If the swap fails with a contract revert, your slippage tolerance is usually too low for current market conditions. See [Troubleshooting](/resources/troubleshooting).
## Next steps
Set your own price with limit orders on the V3 order book.
Earn the fees you just paid by supplying liquidity to V2 pools.
See balances, positions, and rewards on the dashboard.